
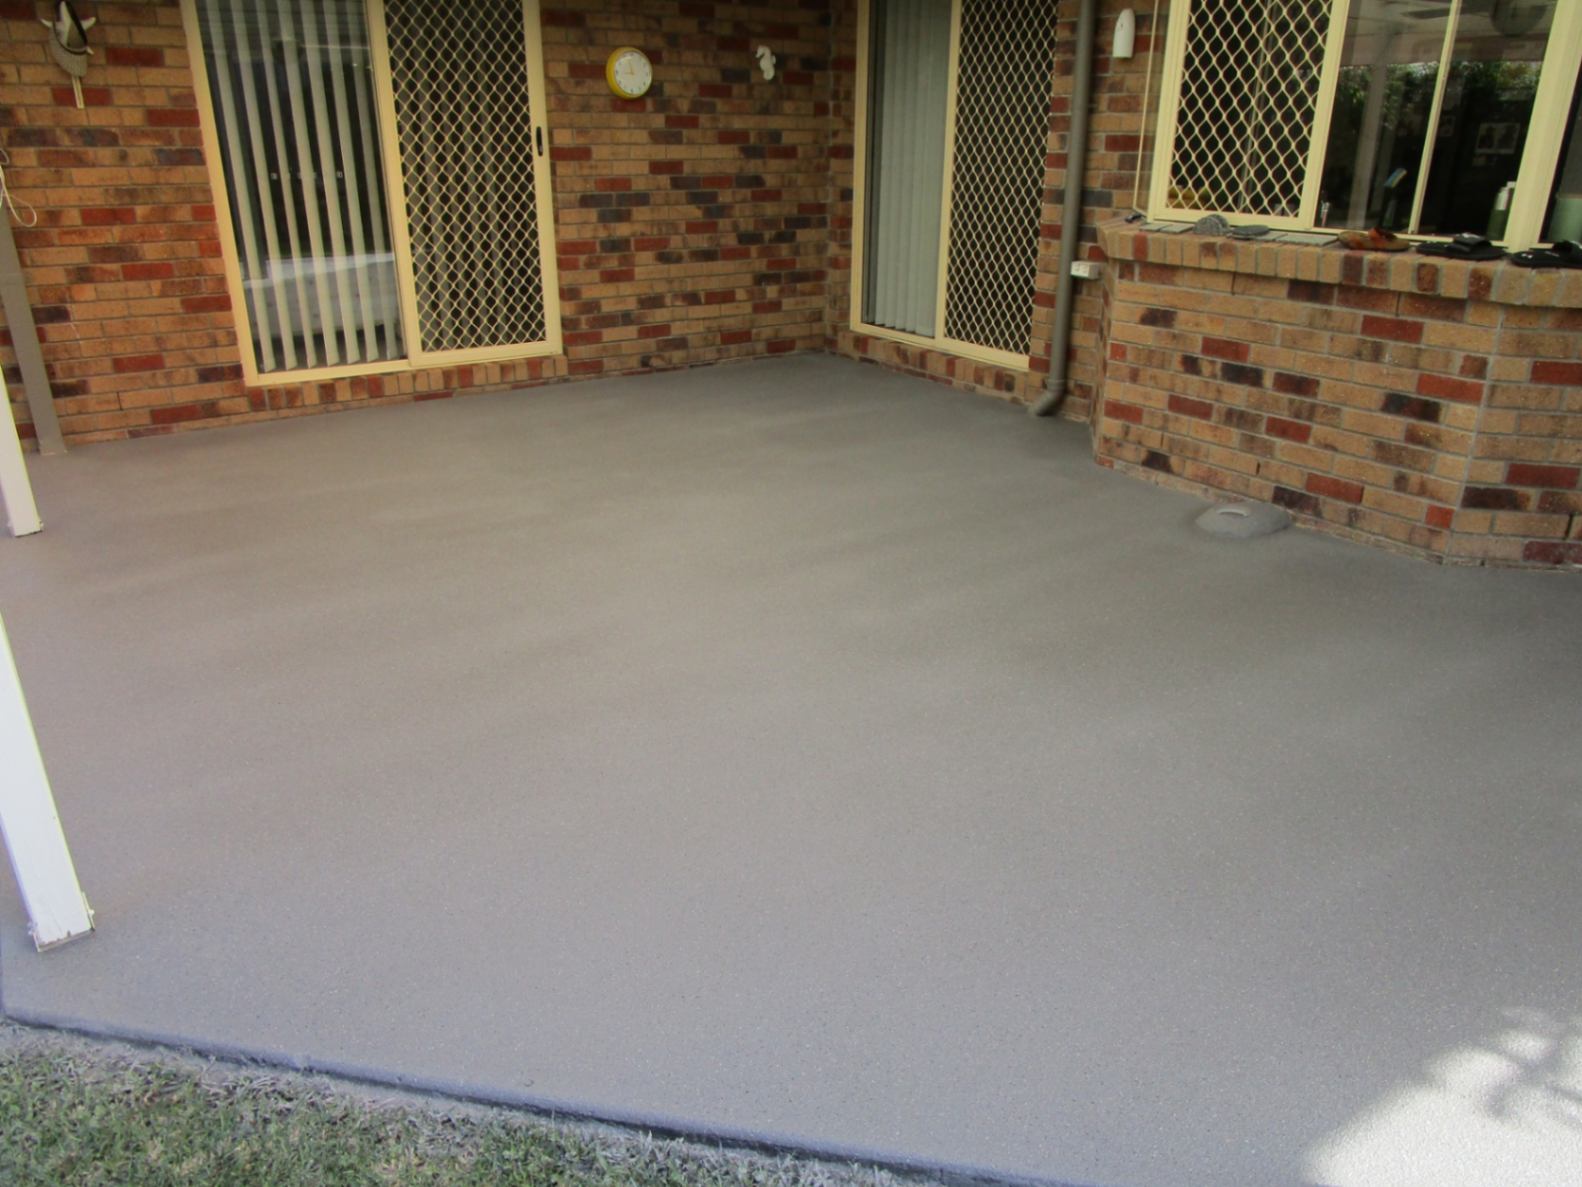
Thinking about resurfacing your concrete driveway or patio? Good on you — with the right prep, it’s one of the best ways to breathe new life into old, tired concrete. But here’s the truth: preparation is everything. And I mean everything.
I’ve seen DIY jobs go pear-shaped more times than I can count, all because the surface wasn’t cleaned, levelled, or patched properly before the new coating went on. In our climate — with humidity, salt air, and wild temperature swings — cutting corners during prep just doesn’t cut it.
So here’s my step-by-step guide to preparing your concrete for resurfacing, whether you’re using spray-on paving, epoxy, or any other finish.
Step 1: Clean and Degrease (Properly)
First things first — you need a totally clean surface. That means getting rid of:
- Oil stains
- Grease
- Mould
- Dirt and dust
- Old paint or sealers
I recommend a pressure washer with a degreaser specifically made for concrete. For oil spots, use a concrete-safe degreaser, scrub with a stiff broom, and let it soak before rinsing. If you skip this part, your new coating won’t stick properly — and that’s a fast track to flaking.
Pro tip: Avoid household cleaners like bleach or vinegar — they can mess with pH and affect adhesion.
Step 2: Test for Moisture
This one’s especially important on the Gold Coast and anywhere humid. If your concrete is holding moisture, your resurfacing job is likely to fail — even if everything else is perfect.
Here’s how to test:
- Tape down a 1m² sheet of plastic or foil to the slab
- Leave it for 24 hours
- If you see condensation underneath, the slab is too damp
In that case, you’ll need to address the moisture before resurfacing — either by improving drainage, installing a vapour barrier, or waiting for drier weather.
Step 3: Patch Cracks and Level Uneven Areas
Once the surface is clean and dry, inspect it closely.
🛠️ Hairline cracks? Use a concrete crack filler or patching compound.
🛠️ Wider cracks or pits? These might need grinding and a cementitious patch mix.
🛠️ Uneven areas? You’ll need a self-levelling compound to get a flat base.
If you don’t patch these first, the imperfections will show through — and worse, they can cause weak spots in your resurfacing layer.
Step 4: Surface Grinding (When Needed)
If your concrete has:
- An old coating or sealer
- Polished or glossy areas
- Flaking or dusty spots
Then it’s time for surface grinding. This roughens up the concrete and helps the new layer bond properly.
You can hire a grinder from your local tool hire shop (get one with a dust shroud if you can). If the slab’s in really poor shape — crumbling, soft, or lifting — it might be time to call it: some surfaces just aren’t worth resurfacing.
When NOT to Attempt Resurfacing
Here’s when I’d tell you to hold off (or call in the pros):
- Rising damp or ongoing moisture issues
- Spalling or flaking concrete (where the top layer is breaking off)
- Extensive cracking throughout the slab
- Heavily painted or sealed surfaces that won’t grind back
Trying to resurface over these conditions is like painting over rust. It might look good for a month — but it won’t last.
Final Word from Me
Resurfacing can absolutely be a DIY-friendly project — if the prep is done right. Take your time, follow the steps, and don’t be afraid to call in help if your slab shows signs of deeper damage.
If you’re not sure whether your concrete’s suitable, or you need help with the grinding, prep, or spray-on paving, I’m happy to pop out for a look and give honest feedback. We work across the Gold Coast, Brisbane, Tweed, and Northern NSW — and we’ve seen it all.
Get a Free Quote or Site Check
Let’s get your concrete looking brand new — the right way.